Initial setup & activation
In this guide, we will show you step by step how to quickly and easily set up your OpenPaper. You will also find suitable solutions for typical problems here.
Power Supply
Provide power to the OpenPaper. You can either use 4 AAA batteries or operate it via the USB-C port on the back of the device.
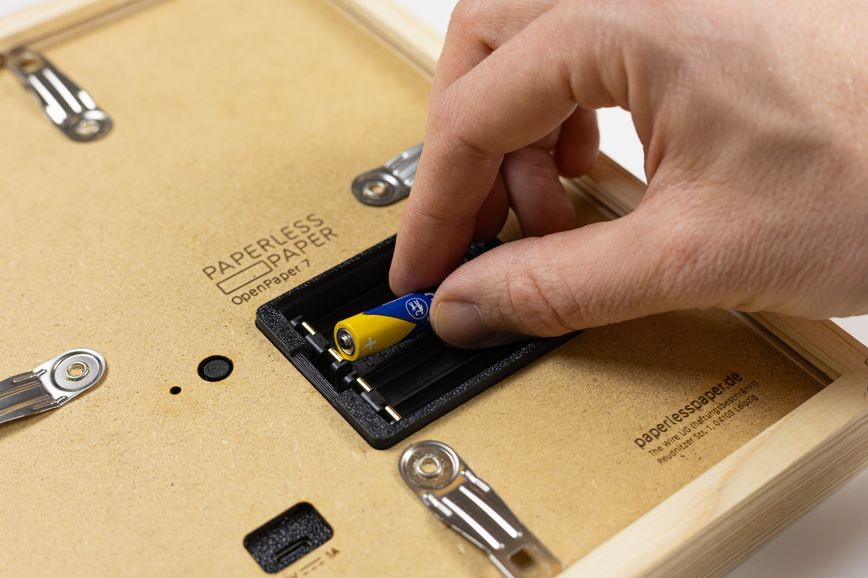 Lege die Batterien ein
Download App
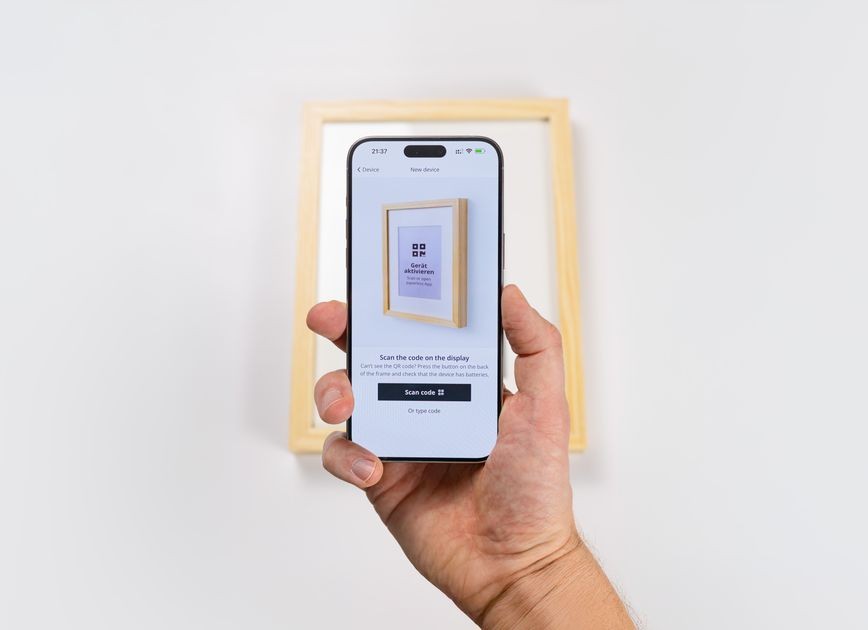
For setting up the device, you have several options depending on your device. You can set up the OpenPaper via Android, iOS, or cross-device through the browser. Scan the QR code on the picture frame or download the paperlesspaper app here .
Wake up the device
Briefly press the button on the back of the picture frame. A QR code will appear on the display. This is used for activation and can also be used to download the paperlesspaper app.
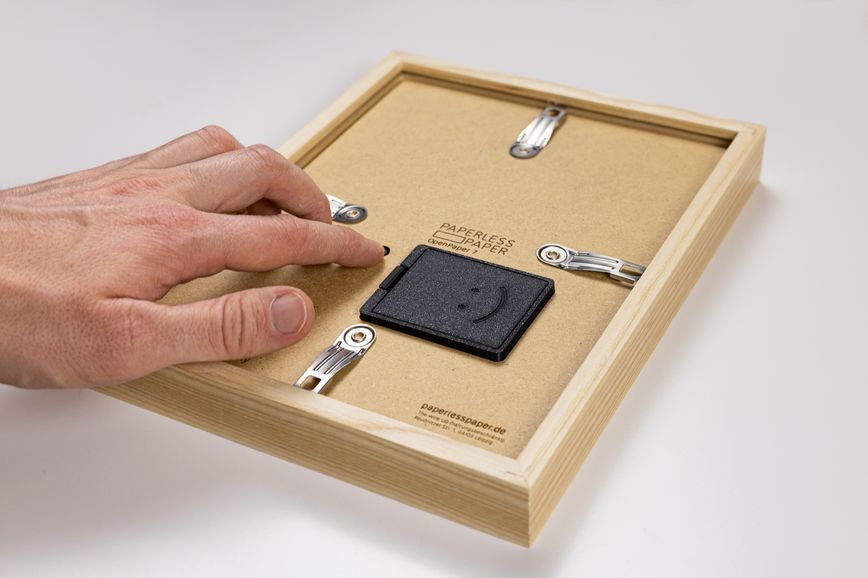 Drücke den Knopf auf der Rückseite um den Bilderrahmen aufzuwecken
Login/Registration
If you already have a user account in the app, you can log in directly here.
If you don't have one yet, click on New Account. There you can register via your email, Google account, or Apple account. The registration assistant will then open.
Connect the frame to Wi-Fi
- Open the
paperlesspaperapp and add a new one underDevices. - Press
Scan Codeandscan the QR codeon the picture frame. - Press
Set up Wi-Fi, wait until the picture frame is recognized and select it. You need toenable Bluetoothand pair with thedevice. You must accept the requested permissions for this. - Select your
Wi-Fiand enter thepassword. The picture frame will connect automatically and activate. This takes about 60 seconds. - After a successful connection, the display will show a confirmation.
Upload the first image
- You can now upload the first image to the Open Paper. Click on the
Currentpage onUpload first imageorNew Image - Then select an image. A simple image editor will then open
- Click on
Phototo search for an image. - It will then be displayed in the editor. You have the option to adjust the image there. When you are finished, click on
Next. - Select the picture frame and click on
Send - You can display the image immediately by pressing the
buttonon the back or by briefly moving the picture frame. Otherwise, the OpenPaper will be updated at the next synchronization.
Possible Issues 🤷♀️
I am using the web app and cannot set up the device.
The setup in the web app only works in the current Google Chrome. Please use the app instead.
There is an error with the Bluetooth connection
Go to your device settings and ensure that Bluetooth is enabled and the app has access to Bluetooth. This usually requires permission for location sharing, which you must accept.
I cannot scan a code
Ensure that the app has access to the camera. Try to avoid reflections if necessary.
My Wi-Fi network does not appear in the list?
Applies only to the older paper 4: Ensure that you are using a 2.4 GHz Wi-Fi network, as the picture frame does not support 5 GHz networks. Try to be near the router during activation.
The picture frame shows an error when connecting to Wi-Fi.
Check if the entered password is correct. If the problem persists, restart the router and the picture frame and try again. If the problem continues, feel free to contact us.
Can I use the picture frame without Wi-Fi?
No, the picture frame requires an active Wi-Fi connection to receive and update content from the app.
Can I use the device at a different Wi-Fi location?
Yes, you need to set up the Wi-Fi connection again in the app. Go to the device settings in the app, select “Set up Wi-Fi” and follow the instructions for the new connection.
The device does not respond
Please check if the batteries are charged. The LED on the back should light up blue when you briefly press the button.